Home / Brakes, Suspension & Steering
Brake Pad and Disc Replacement Guide for Workshop Car Repair
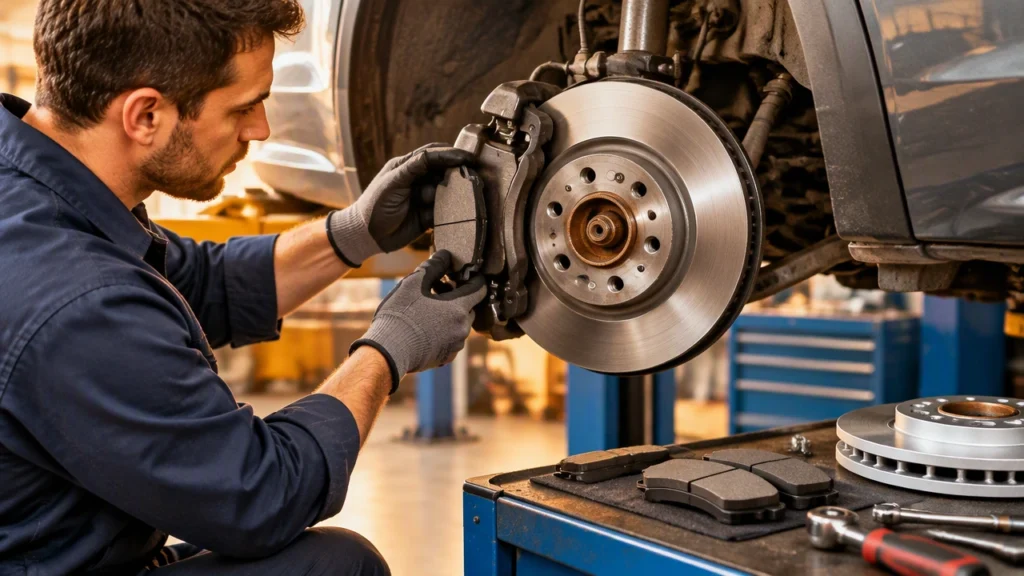
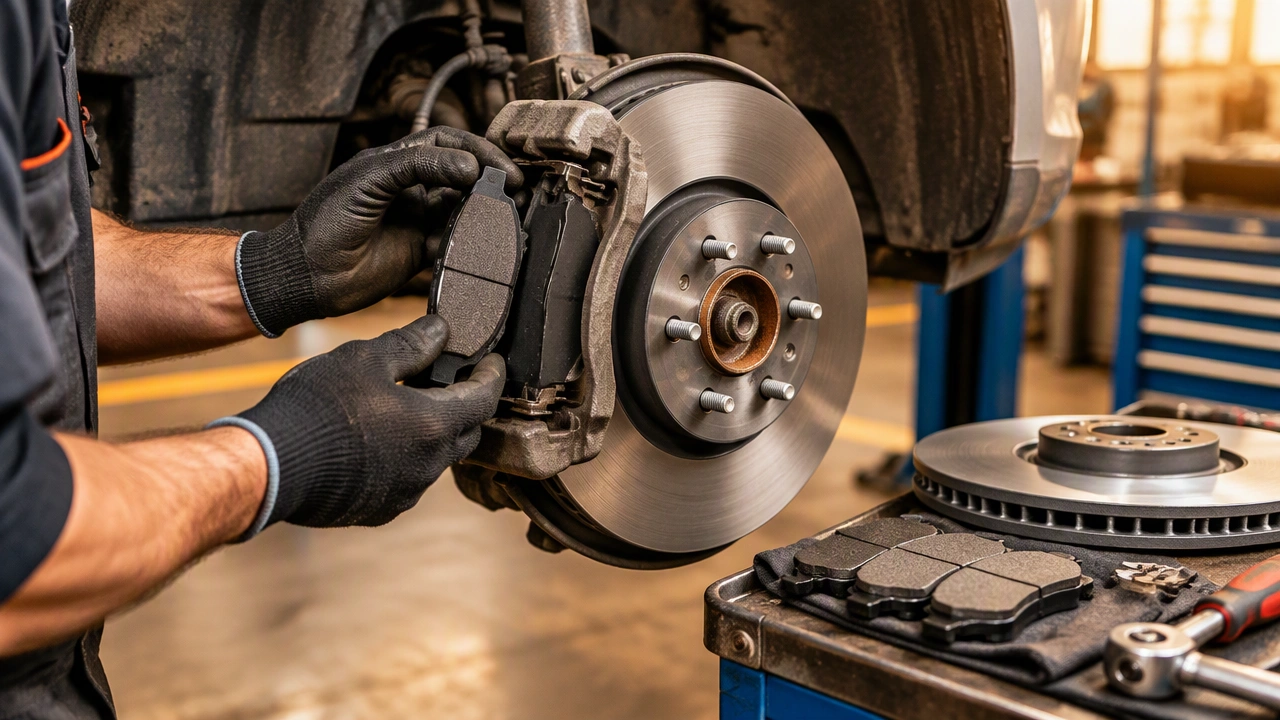
Brakes are one of the most safety-critical systems on any vehicle, and replacing worn pads and discs is a core part of workshop car repair. A careful inspection, accurate measurement, and disciplined replacement procedure help restore stopping power, prevent noise and vibration, and protect other components from premature wear. This guide explains how professional technicians approach the job safely and methodically, so you can understand what happens in a workshop and why each step matters.
Why timely brake inspection matters
Brake pads and discs wear gradually through normal use. City driving, towing, mountain descents, and aggressive braking can accelerate that wear. If pads become too thin or discs lose minimum thickness, braking performance drops, stopping distances increase, and the risk of damage to calipers, wheel bearings, and hubs rises. Early inspection catches uneven wear, contamination, and heat damage before they cause more expensive repairs.
Symptoms that often signal worn brakes
- Squealing or grinding noise: High-pitched squeal can indicate a built-in wear indicator touching the disc, while grinding usually means pad material is gone and metal is contacting the disc.
- Vibration under braking: Pulsation in the pedal or steering shake often points to disc thickness variation, scoring, or heat warping.
- Longer stopping distances: A soft pedal, delayed response, or reduced bite can signal glazed pads, fluid issues, or severely worn friction surfaces.
- Visual pad thickness: Many wheels allow a quick visual check. If the pad friction material is close to the backing plate, replacement is due.
- Brake dust and wear debris: A sudden change in dust amount or color can reflect harder compounds or overheating.
Workshop preparation and safety
Before any work begins, the vehicle is placed on a stable lift or rated jack stands on a level surface. The parking brake is released or applied only as needed for the service procedure, and wheel chocks help prevent movement. Technicians wear eye protection and gloves because brake dust can contain fine particles and older vehicles may have materials that should not be inhaled or touched. The battery negative terminal may be disconnected on some models to avoid accidental electronic brake functions moving calipers during service.
Correct tools matter. A torque wrench ensures wheel and caliper fasteners are tightened to specification. A caliper piston tool or wind-back tool retracts pistons smoothly without damaging seals. A micrometer and a Vernier or dial gauge allow accurate disc measurements. Brake cleaner, high-temperature grease for slide pins, and new hardware such as anti-rattle clips and pad shims help restore like-new operation.
How worn pads and discs are inspected
After removing the wheel, the technician looks at the whole corner assembly. They check for leaks around the caliper and hose, inspect slide pins for smooth movement, and examine boots for cracks. Stuck pins cause uneven pad wear and can make the vehicle pull under braking.
Pads are checked for thickness, surface condition, and signs of contamination like oil or grease. Glazing, cracks, or chunks missing indicate overheating or mechanical issues. Discs are inspected for scoring, rust lip at the edge, heat spots, and cracks. A deep lip can trap pad material and reduce contact area, while heat discoloration can signal hard use or fading.
Measuring disc thickness and variation
Measurements decide whether a disc can be resurfaced or must be replaced. A micrometer is used to measure thickness at several points around the disc, typically at the top, bottom, left, and right, and sometimes on both sides of the hat. The minimum thickness is stamped on the disc or listed in the service manual. If any measurement is below the minimum, the disc is replaced.
Thickness variation is checked with a dial indicator mounted to a stable base while the disc is rotated slowly. Variation beyond manufacturer limits causes pedal pulsation. Runout can also be checked at the disc face. Excessive runout may be corrected by repositioning the disc relative to the hub, cleaning the mounting faces, or replacing the disc if damage persists.
Decision: replace or resurface
Resurfacing can restore a smooth surface if the disc remains above minimum thickness after machining and there are no cracks. However, many modern discs are designed for single-use replacement, especially if they are already near minimum thickness. In most workshops, replacement is chosen when there is heavy scoring, heat damage, corrosion pitting, or when the cost and time of machining are not justified compared to new parts.
Pads are always replaced when discs are replaced. Mixing new pads with a worn disc, or vice versa, leads to poor bedding, noise, and uneven friction. If only one side is damaged, both sides of the axle are serviced to keep braking balanced.
Step-by-step replacement in the workshop
Remove old components
- Loosen wheel nuts slightly before lifting, then raise the vehicle and secure it on stands.
- Remove the wheel and clean the hub and caliper area to reduce dust exposure.
- Unbolt the caliper and support it with a hanger or hook so the brake hose is not stressed.
- Remove the caliper bracket if needed to free the disc.
- Slide out the old pads and remove anti-rattle clips and shims if they will not be reused.
Prepare the hub and hardware
- Clean the hub face thoroughly so the new disc sits flat. Rust or debris can cause runout and later pulsation.
- Inspect wheel bearings for play or roughness. A noisy bearing should be addressed while the corner is apart.
- Service slide pins by cleaning and re-greasing with high-temperature brake grease. Replace torn boots.
Fit new discs and pads
- Place the new disc on the hub. Some discs ship with an anti-rust coating that should be cleaned off with brake cleaner before assembly.
- Lightly secure the disc with a wheel nut or a retaining screw so it does not move during pad installation.
- Install new hardware, then fit the new pads according to the manufacturer’s orientation. Ensure shims and wear indicators are positioned correctly.
- Retract the caliper piston smoothly using the appropriate tool. On rear calipers with an integrated parking brake, the piston may need to be rotated while pressing in.
- Refit the caliper and tighten bracket and caliper fasteners to the specified torque.
Reassemble and torque
- Refit the wheel and torque wheel nuts in a star pattern to specification.
- Lower the vehicle and perform a final wheel torque check.
Beding-in and final checks
New pads and discs need a careful bed-in process to transfer an even layer of friction material onto the disc. Technicians perform a series of moderate-speed stops from a safe speed, allowing cooling between stops. Aggressive braking during this phase can glaze the pads and cause noise.
After bedding, the team checks for even pedal feel, confirms there are no leaks, and ensures the wheel spins freely without drag beyond normal pad contact. If the vehicle has electronic stability or ADAS features, a road test verifies correct operation, and a scan tool may be used to reset service counters or brake wear indicators.
Common mistakes to avoid
- Skipping cleaning: Dirty hub faces and seized pins lead to runout and uneven wear.
- Ignoring hardware: Reusing worn clips and shims can cause rattle and uneven pad seating.
- Wrong grease: Petroleum-based lubricants can damage rubber boots and degrade performance.
- Overtightening: Excessive torque on caliper bolts or wheel nuts can distort components.
- No bedding-in: Skipping the bedding process increases the chance of noise and reduced initial bite.
When to seek professional help
If you notice deep grooves on discs, severe vibration, a low or spongy pedal, warning lights that stay on, or any sign of brake fluid leakage, stop driving and have the vehicle inspected. Workshops have the tools and experience to measure accurately, identify hidden issues like hub or bearing problems, and complete the replacement safely.
Understanding how worn brake pads and discs are inspected, measured, and replaced helps you make informed decisions about maintenance. A methodical approach, correct parts, and careful final checks keep the braking system reliable and the vehicle safe on the road.