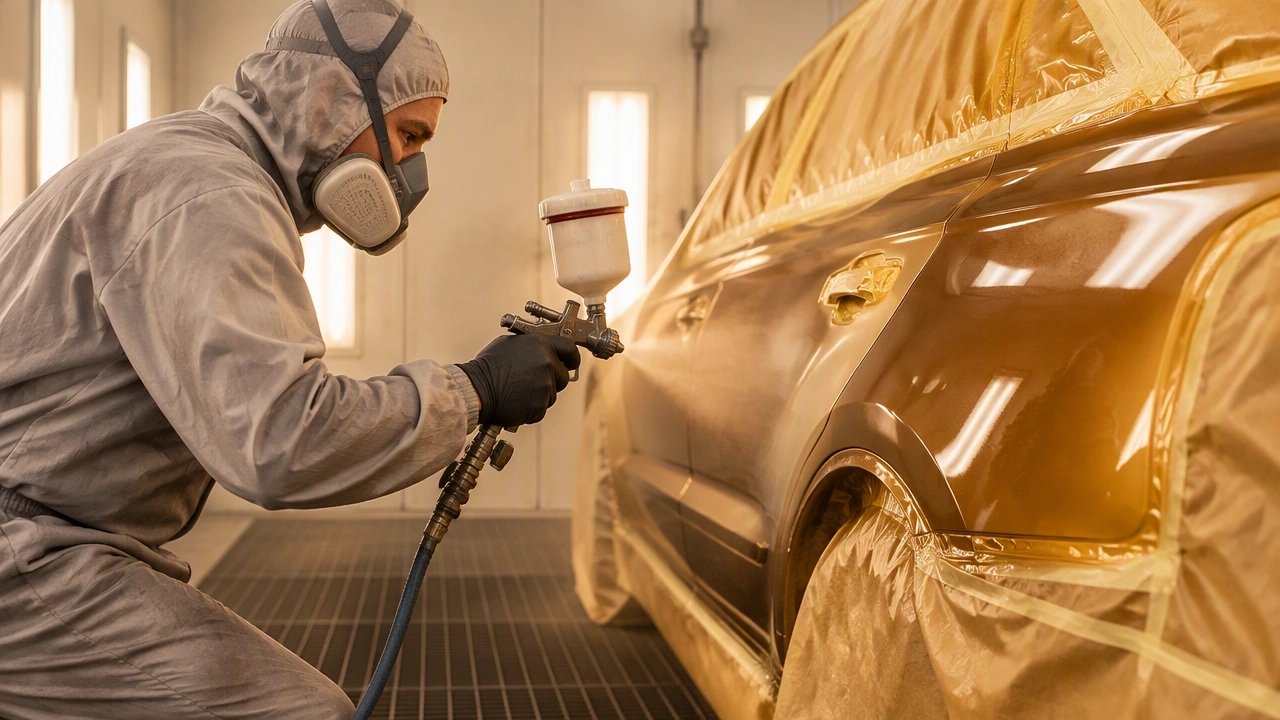
The Spray Painting and Clear Coat Process in a Body Shop Booth
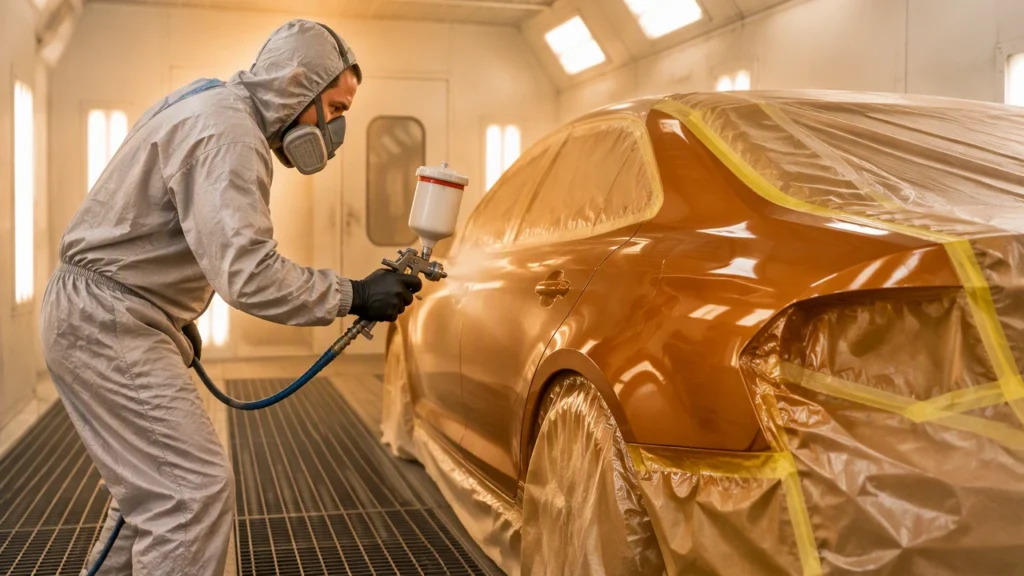
The spray painting and clear coat process in a body shop booth is a controlled sequence of preparation, protection, and finishing. Each stage depends on the one before it, so rushing a single step can leave visible defects or reduce durability. Understanding how professional car repair paintwork progresses helps vehicle owners know what to expect and why preparation matters more than the final gloss alone.
Assessing the damage and planning the repair
Before any paint is mixed, a technician inspects the panel and identifies the extent of the damage. Dents, deep scratches, corrosion, filler, and previous repairs each require a different approach. The surrounding color is also checked under controlled lighting to determine whether the repair should be limited to one panel or blended across adjacent panels.
Once the scope is clear, the vehicle is cleaned to remove road film, silicone, wax, and degreasers that could contaminate the surface. Sensitive trim, glass, lights, and unaffected panels are masked so overspray cannot reach them. This planning stage establishes clean edges, a stable repair area, and a clear paint-mixing strategy.
Removing old material and shaping the surface
Paintwork cannot bond reliably to loose coatings or damaged material. The technician sands the repair area to create a smooth, keyed surface and feathers the edges of the existing finish so there is no abrupt step between layers. Deep scratches are evaluated carefully: if they reach the substrate, they must be repaired rather than simply covered.
Straightening and filling
If the panel is dented, it may be pulled, worked with body tools, or reinforced from behind where access allows. Shallow imperfections are corrected with body filler, which is applied in controlled layers and allowed to cure fully. The filler is then shaped with progressively finer abrasives until the panel follows its original contour. The goal is not simply to hide damage, but to restore a surface that looks correct under reflected light.
Corrosion control and primer application
Rust must be removed back to stable material before priming. Any remaining contamination can continue beneath the new coating, causing bubbles or lifting later. Once the metal is sound, an appropriate primer is applied to seal the repair, provide adhesion, and create a uniform surface for the topcoat.
Primer also fills minor sanding marks and helps the technician spot remaining low or high spots. After spraying, the primer is allowed to dry or cure according to its type. It is then guide-coated and blocked by hand, a process that reveals subtle unevenness through a light dusting of contrasting color. Blocking continues until the reflection and contour are consistent.
Final preparation before color
The repaired area is cleaned again to remove dust, oils, and sanding residue. Tack cloths lift loose particles, while solvent cleaning reduces the risk of contamination that could cause fisheyes or poor adhesion. Adjacent panels are re-masked to create clean, well-placed transitions.
Lighting and booth cleanliness are critical at this point. A body shop booth filters incoming air and maintains airflow that carries airborne particles away from the vehicle. The technician also checks temperature and humidity, because coating behavior changes when environmental conditions fall outside the paint manufacturer’s recommended range.
Color mixing and basecoat
Color is prepared from a formula matched to the vehicle’s paint code, then adjusted for age, fading, and the specific repair strategy. Metallic and pearl colors require particular care because orientation of the flakes affects brightness and tone. A test spray or spray-out card may be checked beside the original finish before full application.
The basecoat is applied in several light, even passes rather than one heavy coat. Each pass builds coverage while allowing solvents to flash off. The technician keeps a consistent distance, speed, and overlap so the finish remains uniform without runs or dry edges. Metallic colors are finished with a controlling pass to distribute flakes evenly and prevent mottling or striping.
Clear coat protection and gloss
Once the basecoat has flashed and reached the correct state, clear coat is sprayed over it. This transparent layer provides gloss, UV protection, chemical resistance, and the depth associated with a finished vehicle. It must be applied within the permitted recoat window so the layers bond correctly.
Like the basecoat, clear coat is built in controlled passes. Too little product can leave a thin, porous finish, while excessive wetness can cause runs or solvent entrapment. The technician watches the surface reflection closely, adjusting technique to maintain even coverage around edges, curves, and character lines.
Curing and controlled drying
After spraying, the vehicle remains in the booth while the coatings cure. Some systems use infrared lamps or baked cycles, while others air-dry within specified limits. Temperature is raised gradually and monitored to avoid trapping solvents or affecting nearby materials. Proper curing determines when masking can be removed and when the surface can safely be polished.
Polishing and refining the finish
After curing, the repaired area is inspected under different light sources. Small dust nibs, texture differences, or light imperfections may be leveled with fine wet sanding. The surface is then machine polished in stages, using products matched to the severity of the correction. The technician works carefully around edges and body lines to avoid burning through the clear coat.
Reassembly and final inspection
Trim, lights, and hardware are refitted, and all edges are checked for lifting or gaps in coverage. The panel is cleaned and viewed from several angles to confirm that color, gloss, and texture blend with the rest of the vehicle. The repair is considered complete only when it looks consistent in daylight, shade, and reflected light.
Why the sequence matters
Professional refinishing succeeds because every layer has a defined purpose. Preparation creates adhesion, primer stabilizes and levels the repair, basecoat supplies color, clear coat protects it, and polishing refines the final appearance. Skipping or compressing any stage may produce a finish that looks acceptable initially but fails prematurely.
For anyone researching car repair, the important lesson is simple: durable paintwork is built from the substrate upward. A calm, methodical approach inside the booth produces a repair that not only looks smooth when new but also resists weather, washing, and everyday use over time.