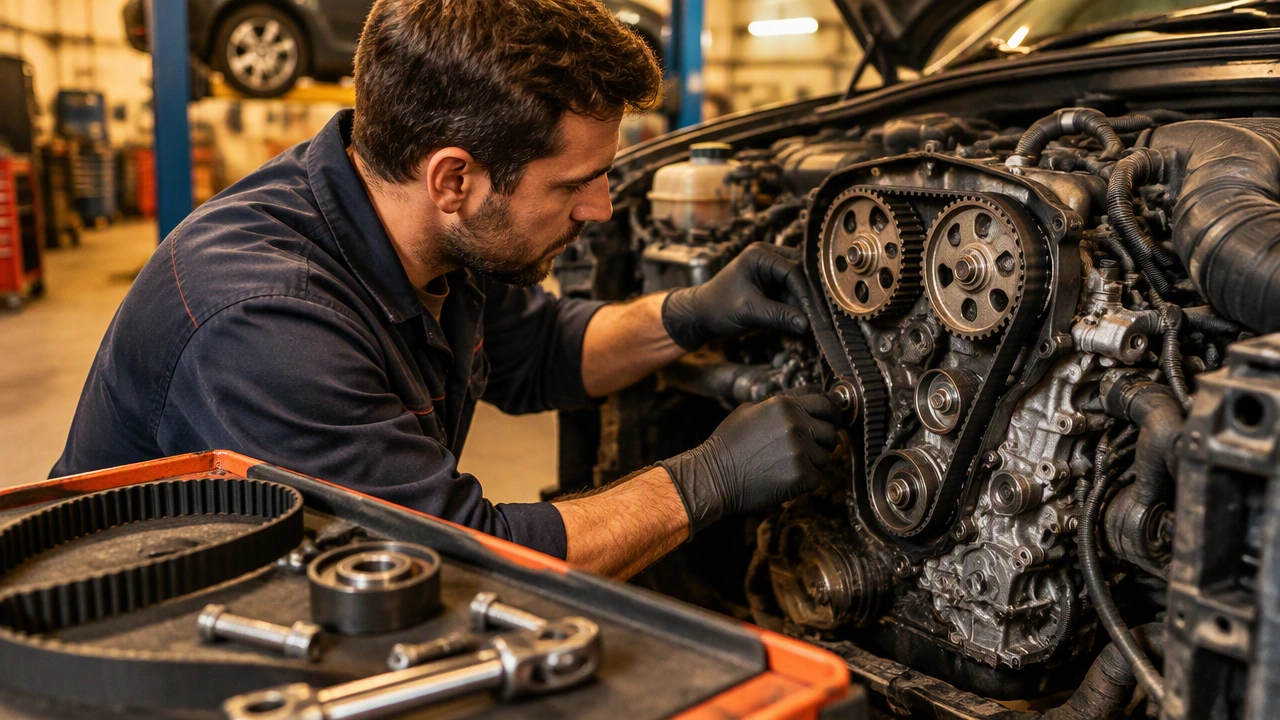
Timing Belt Replacement Interval and Process: When and How Technicians Replace It

Knowing when to replace timing belt components is one of the most important parts of preventive car repair. A failed belt can stop an interference engine instantly, bending valves and damaging pistons. Workshop technicians therefore combine service schedules, mileage, age, and physical inspection to decide whether replacement is due, then follow a controlled process that keeps the engine in time.
How workshop technicians decide when replacement is due
The starting point is the manufacturer’s schedule. Many interference engines call for a belt replacement around 60,000 to 105,000 miles or roughly 5 to 7 years, but the exact figure varies by engine, market, and service history. Age matters because rubber loses flexibility even when mileage is low. A belt that looks clean can still be hardened, glazed, or micro-cracked.
Before recommending work, a technician checks the belt and drive system through the inspection cover or a removable panel. The inspection looks for:
- cracks, fraying, or missing teeth
- oil or coolant contamination
- uneven wear or a shiny glazed surface
- play, noise, or rough rotation in the tensioner and idler pulleys
- weakening or leaking in the hydraulic tensioner, if fitted
Oil at the front of the engine deserves particular attention. A leaking camshaft seal or crank seal can saturate a new belt and shorten its life, so seals are usually replaced while the belt is off. The water pump is also inspected because many designs are driven by the belt or become accessible only during the job. Replacing a pump at the same time avoids opening the timing cover again later.
Why a chain is treated differently
A timing chain is normally designed for long service life, but it is not maintenance-free in every case. Chains stretch gradually as pins and bushings wear, which changes valve timing and can cause a rattling sound at startup. The chain tensioner and guides may also wear. Technicians listen for a steady rattle from the front or side of the engine, scan for camshaft and crankshaft correlation faults, and compare commanded timing with actual position.
When chain wear is confirmed, replacement usually includes the chain, guides, tensioner, and often related seals. The work is more involved because the timing cover or engine front cover must be removed, and some engines require special alignment tools. The aim is the same as with a belt: restore correct timing before wear causes misfires, catalyst damage, or a sudden loss of power.
The belt replacement process in the workshop
Preparation and inspection
The technician records the engine code, current mileage, and any noise or fault symptoms. The car is positioned safely, the battery is disconnected, and the engine is supported as needed. Access panels, engine mounts, belts, and covers are removed in the order required by the engine layout. The area is cleaned so dirt cannot fall into the timing drive.
Locking the engine in time
The crankshaft and camshaft are rotated to their timing marks, then locked with the manufacturer’s pins, brackets, or plates. This step is critical. If the crankshaft turns while the belt is off, the pistons can contact open valves on an interference engine. The technician verifies that the marks remain aligned before releasing the old belt.
Removing the old drive components
The belt tension is released, the belt is slipped from the pulleys, and the old belt is inspected for clues about the failure pattern. The tensioner, idler rollers, seals, and water pump are checked against the replacement plan. Worn components are renewed as a set so the new belt is not loaded by a weak pulley.
Fitting and tensioning the new belt
The new belt is routed exactly along the diagram for that engine, keeping the correct side tight and avoiding twists. The technician follows the specified tensioning procedure, which may be a spring-loaded auto-tensioner or a measured deflection method. The tensioner is set to its witness mark or specified angle. The locking tools are then removed, and the engine is turned by hand through at least two complete revolutions. Any contact, resistance, or misalignment stops the job for rechecking.
Final verification
After the timing marks are confirmed again, the tensioner is rechecked, covers and mounts are refitted, and the auxiliary belt is installed. The engine is started and listened for unusual noise. The technician checks for oil leaks, verifies smooth idle and throttle response, and clears or reviews cam-crank correlation data if the vehicle supports it. The replacement date, mileage, and parts used are added to the service record.
Signs that should not be ignored
Interference engines can fail without warning, so symptoms deserve prompt inspection. A high-pitched squeal may indicate a glazed belt or slipping tensioner. A rhythmic ticking or rattle can point to a loose chain, worn guides, or a failing tensioner. Rough starting, intermittent misfires, reduced power, or a camshaft position fault may mean timing has drifted. Oil contamination, visible cracks, or a belt that has been in service beyond its recommended age are also reasons to schedule work.
Drivers should not wait for a symptom when the schedule already calls for replacement. The cost of a planned belt service is predictable; the cost of a bent-valve engine is not.
Practical takeaways
Follow the vehicle manual and service records, but treat age and inspection results as equal partners with mileage. Ask the workshop to inspect the tensioner, idler, seals, and water pump whenever the belt is replaced. For chain-driven engines, report startup rattles and correlation faults early. A careful timing service is quiet, methodical work: lock the engine, replace worn components as a set, tension to specification, turn the engine by hand, and verify the marks before the first start.