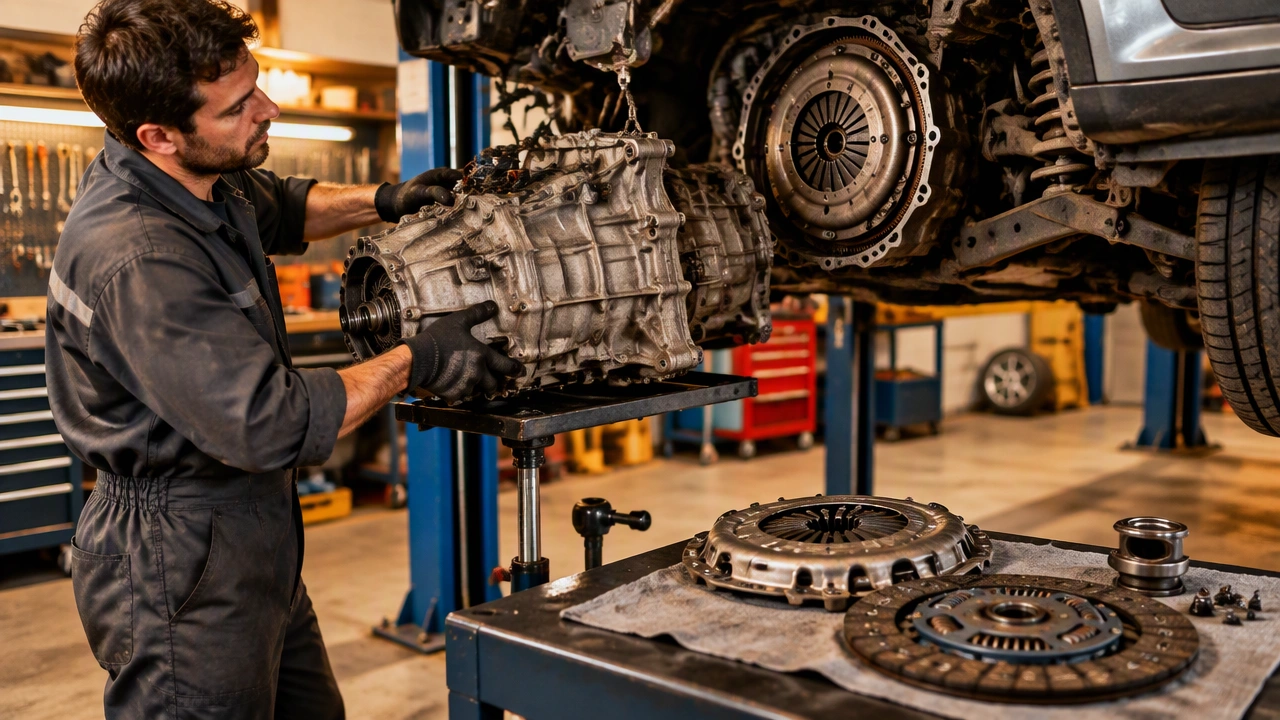
Manual Clutch Replacement Steps With Gearbox Removal
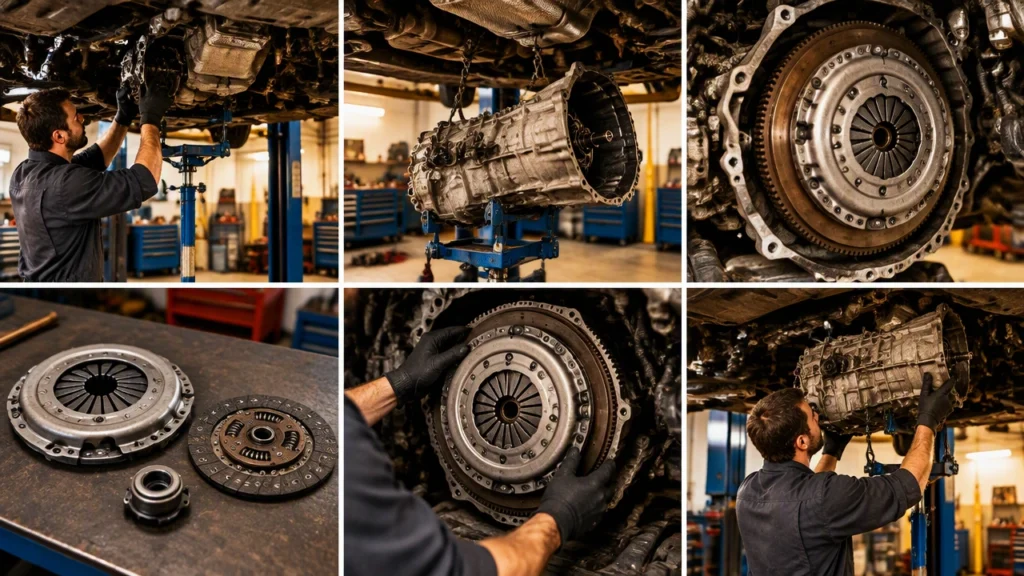
Replacing a clutch is one of the clearest examples of how a workshop approaches a major car repair. The job links the engine, transmission, and hydraulic control system, so every step depends on the previous one being done accurately. This walkthrough follows the complete procedure from preparation and gearbox removal through clutch installation and final adjustment.
Before the gearbox comes out
Work begins with diagnosis. A worn clutch can produce slipping under load, a judder when moving away, a heavy or inconsistent pedal, or difficulty selecting gears with the engine running. The technician confirms that the symptoms come from the clutch rather than from a hydraulic leak, a faulty release bearing, a warped flywheel, or a gear selector problem.
The vehicle is raised safely and the underbody trim is removed as needed. The battery may be disconnected, and any components that cross the engine-to-gearbox boundary are released. Depending on the model, this can include the air intake, battery tray, starter motor, upper shift linkage, clutch slave cylinder, speed sensor wiring, and vehicle speed or reverse sensors. Hoses and wiring are supported rather than left hanging.
Next, the driveline is disconnected. On a front-wheel-drive car, the technician removes the wheel, brake caliper support if required, and driveshaft, then seals the gearbox openings to prevent fluid loss. On rear-wheel-drive vehicles, the propshaft is unbolted and the gearbox is supported before the crossmember is removed. The clutch hydraulic line may be disconnected at the slave cylinder, with care taken to keep the system clean.
Removing the gearbox
With the gearbox supported on a transmission jack, the technician removes the starter, bell-housing bolts, and any brackets shared between the engine and transmission. The bell-housing bolts are usually accessed from several angles, so the engine may need to be tilted slightly with a support bar.
The gearbox is then separated from the engine. This is a controlled movement: the unit is lowered square to the dowels, then eased back far enough to clear the input shaft and clutch disc. If it binds, the angle is corrected rather than forced. Once the gearbox is clear, it is placed on a stand and the bell housing is inspected for fluid contamination, dust buildup, and damage.
Inspecting the removed parts
The clutch cover is unbolted in a cross pattern so the diaphragm spring is released evenly. The technician notes the condition of each component:
- Clutch disc: glazed facings, worn rivets, oil contamination, or heat spotting indicate replacement.
- Pressure plate: scoring, blue heat marks, or a damaged diaphragm finger means the plate should be renewed.
- Release bearing: roughness, binding, or excessive play calls for a new bearing.
- Flywheel: cracks, deep grooves, or heavy heat discoloration require resurfacing or replacement.
- Rear main seal: any oil leak at the back of the engine is repaired before reassembly.
Wear debris is cleaned from the bell housing, and the technician checks the guide tube, fork, pivot, and hydraulic slave cylinder. A weak hydraulic system can imitate mechanical clutch wear, so seals, lines, and the master cylinder are inspected as part of the same job.
Installing the new clutch
The flywheel is prepared according to the manufacturer’s instructions. If it is machined, the surface must be clean and correctly finished; if it is replaced, the fasteners are tightened to the specified torque and angle. The new clutch disc is placed against the flywheel with the correct side facing the transmission, and a clutch alignment tool is used to hold it centered while the cover is fitted.
Bolt tightening starts by hand and continues in a star pattern, gradually bringing the cover to its final torque. Even clamping keeps the diaphragm spring balanced and prevents pedal pulsation. The release bearing is lubricated only with the specified grease and only where the manufacturer allows it. Excess lubricant can contaminate the friction surfaces.
Before the gearbox returns, the input shaft splines, guide tube, and pivot points are inspected and lightly lubricated as appropriate. The technician verifies that the disc slides freely on the shaft and that the release fork moves through its full travel.
Reconnecting the gearbox
The gearbox is lifted back into position and brought square to the engine. The input shaft must enter the clutch disc without force. If the gearbox will not close the final few millimetres, the alignment tool is rechecked and the disc is recentered; forcing the housing can damage the disc, bearing, or input shaft.
Bell-housing bolts are tightened evenly to specification. The starter, driveshafts or propshaft, crossmember, shift linkage, sensors, brackets, and hydraulic connections are refilled in reverse order. Electrical connectors are seated until they lock, and every bracket is checked for clearance around moving parts.
Bleeding and final adjustment
If the hydraulic system was opened, it is bled using the manufacturer’s method. The aim is a firm pedal with no trapped air and no sign of leakage at the master cylinder, line, or slave cylinder. Some vehicles use a self-adjusting mechanism, while others require a specific pedal free play or pushrod adjustment. The specification is followed exactly; guessing at free play can cause partial engagement or premature bearing load.
The technician then checks gear engagement with the engine running, confirms that the pedal returns cleanly, and inspects the area for fluid leaks. Fluid levels are restored, underbody parts are refitted, and the vehicle is lowered.
Road test and handover
A road test confirms that the clutch takes up smoothly, does not slip under acceleration, and allows clean shifts from a stop and while moving. The technician listens for bearing noise and checks for judder or pedal vibration. After the test, a final inspection looks for leaks and loose fasteners.
The driver should be advised to avoid heavy loads or aggressive launches during the initial bedding-in period, and to report any change in pedal feel. When each stage is completed in order, manual clutch replacement steps with gearbox removal become a predictable sequence of inspection, alignment, torque control, and verification rather than a single difficult repair.